- 1A bra you are willing to cut up that fits you well. If you don't want to cut it up, you can make a pattern from it, but it's ten times easier to just cut the sucker up! ((See that ginormous leopard-print bra? yeh that's how big I got when I was breastfeeding Vince. It's like 16DD))Fabric. I used two old singlets. It doesn't NEED to stretch, but it does help!
Fleece. I used regular ol' fleece to pad my bra! ahah. Did you notice this is a quick n dirty bra tute?
Bra Straps - I didn't have any of these handy, so I just stitched lace onto regular 1cm wide elastic
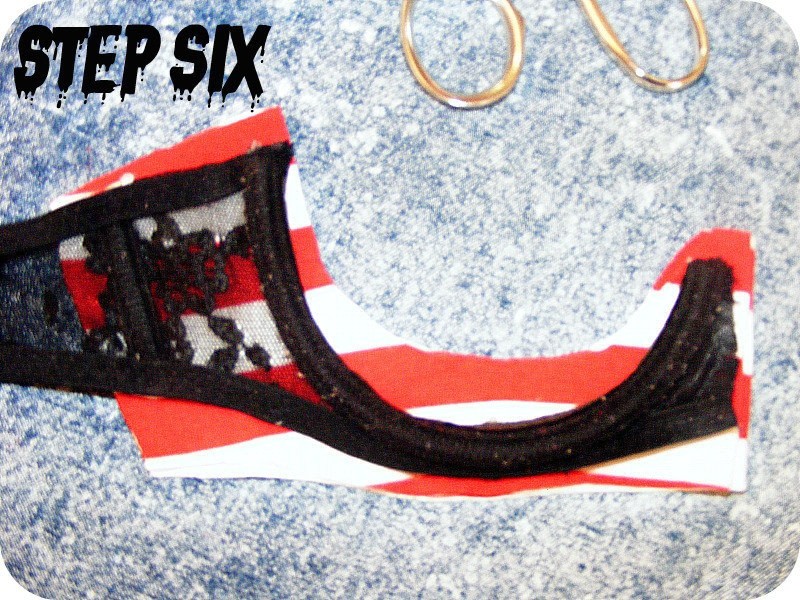
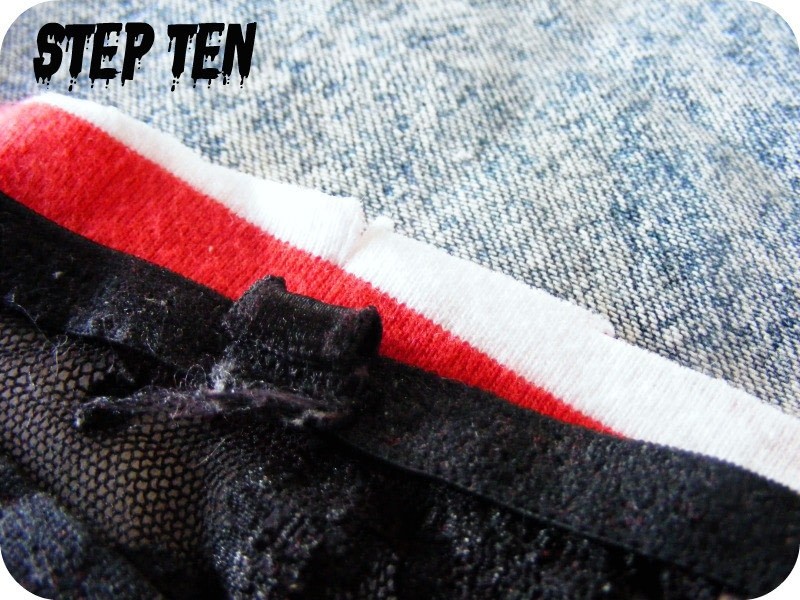
Bra closure - I didn't have any of these handy either, so they don't do up at the back yet! ahah - 2Now you're going to cut your bra up. The key here is to only cut up ONE HALF of the bra, so that you can see which way the pieces go with the uncut side! I'm using the black bra I already cut up as a guide for you guys. You'll want to cut down the middle of the bra ((centre of your chest)), cut the cup out, cut down the seam in the centre of the cup - if your bra doesn't have this seam, cut a curved line approximately down the middle. Cut the straps off too. If you're using shirts and not one continuous piece of fabric, cut the side seam of the bra as well. Cut the bra closure at the back off also.
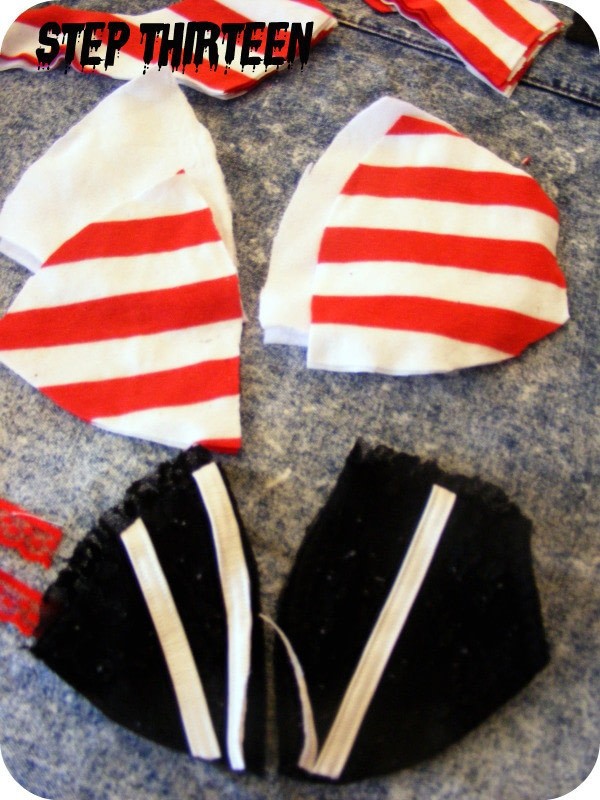
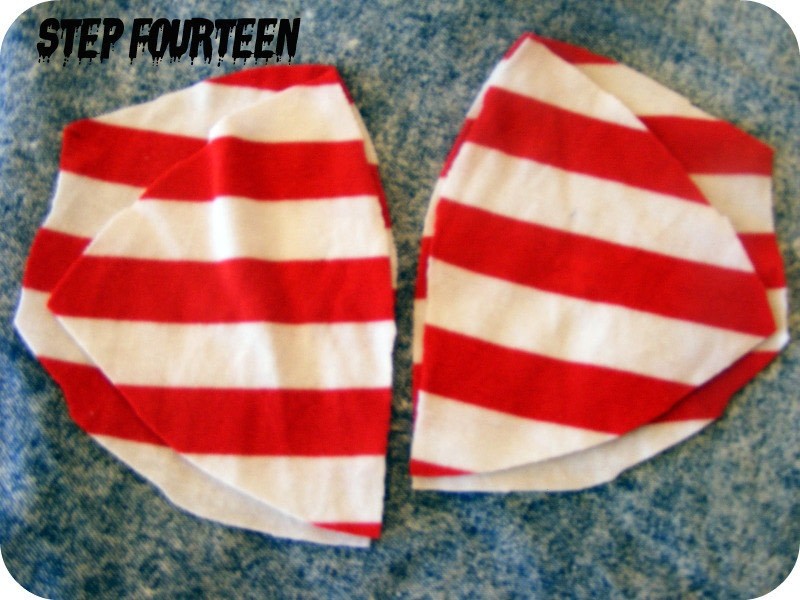
- 3This is what your pieces should look like
- 4Now get the shirts you will be working with. Cut up the sideseam and the shoulderseam. If it's a tee, cut off the sleeves.
- 5Ok, here's a good tip. Instead of cutting straight onto fabric, trace around your pieces, adding 1cm on all edges for seam allowance onto paper. This way you can adjust your pattern when you finish your bra - to make it fit better. Now use those pattern pieces and cut out 2 of each pattern piece.
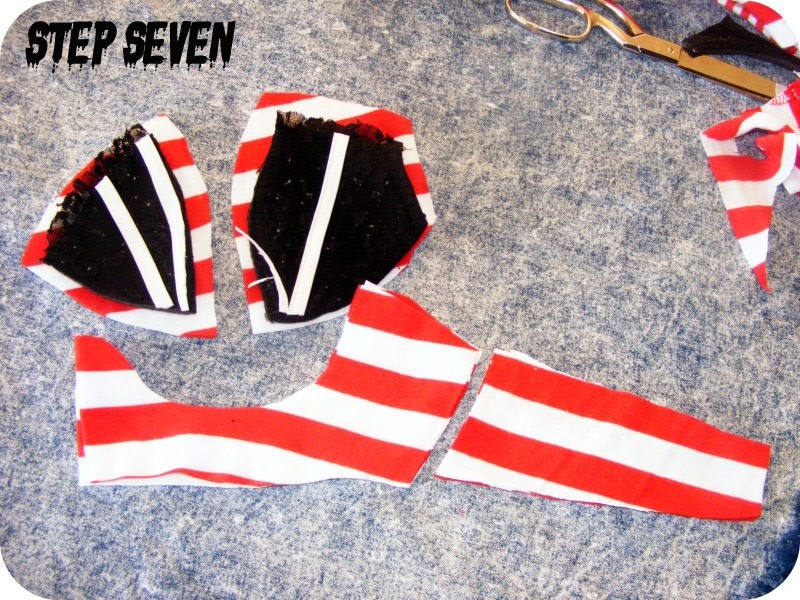
- 6Don't forget that the main part of the bra ((the bit that the cups are stitched onto)) should be cut on the fold ((remember you cut down the centre of this piece and left half of it intact)). Don't add a seam allowance to the centre front like I did. Lol.
- 7If you've got the underpart in two pieces, cut the back pieces out now too. Add seam allowances!
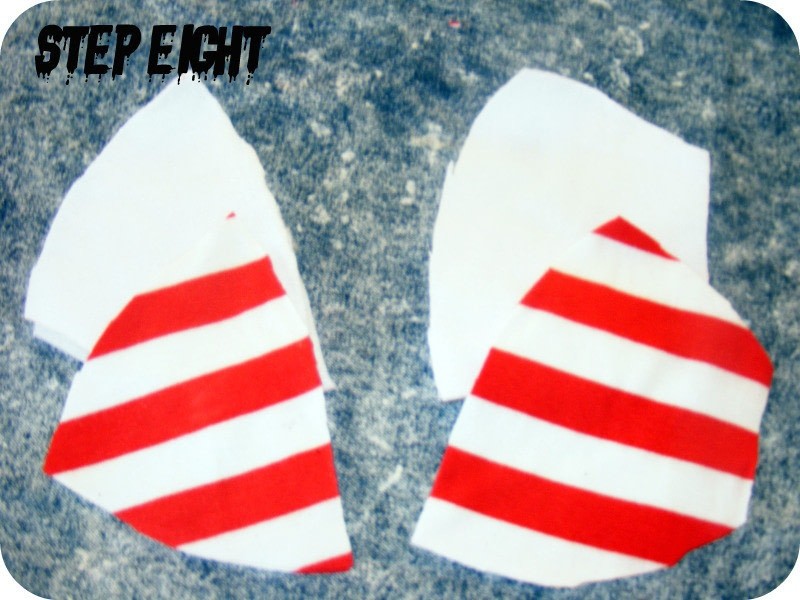
- 8Cut out a pair of the two bra cup pieces out of the fleece. This is going to serve as your padding. :D ((wow.. super blurry photo max...))
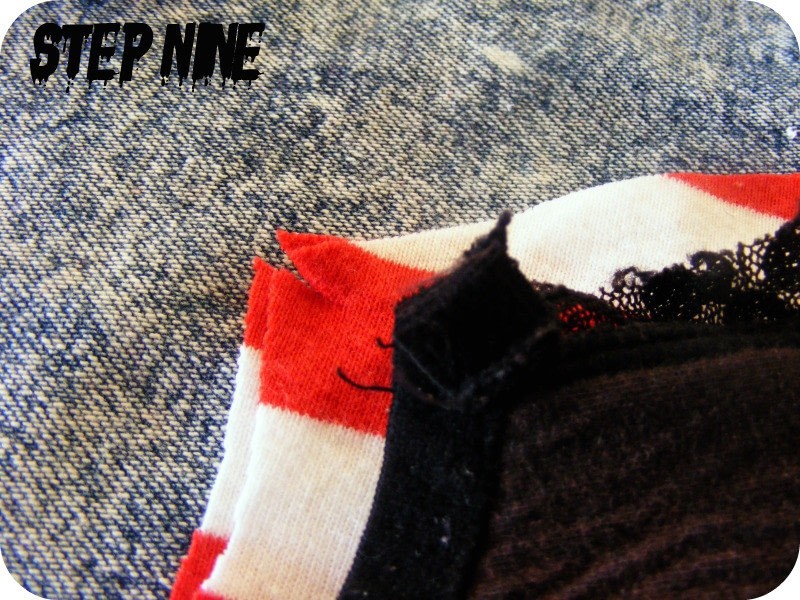
- 9Now find on your outside cup section the part where the strap was attached. line this up with the pieces you cut out and do a little snip to mark that point. This is to mark where you will sew your new straps onto.
- 10Do the same for the back
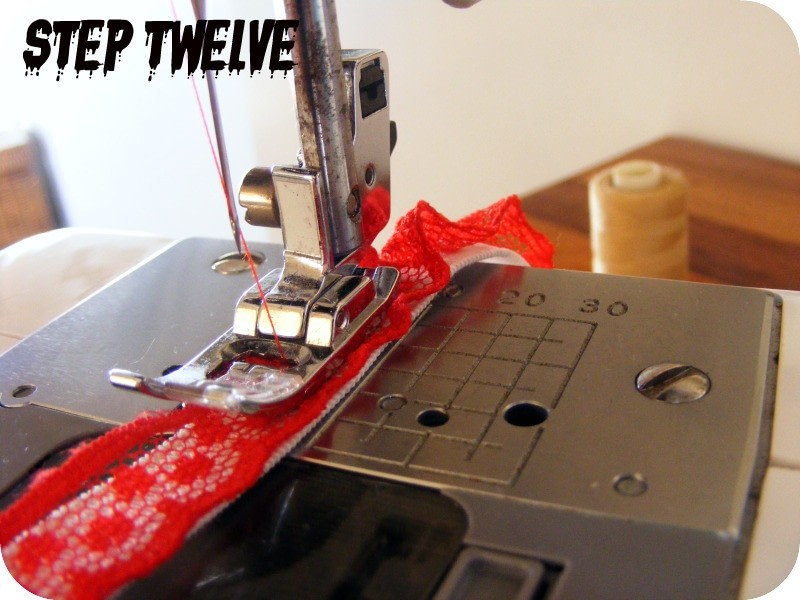
- 11If you havm't bought proper bra straps for this, cut elastic to the length you need. You can use fancy elastic, I just used plain white elastic and...
- 12stitched some red lace onto it! If you stretch the elastic as you sew, it will ruffle up nicely
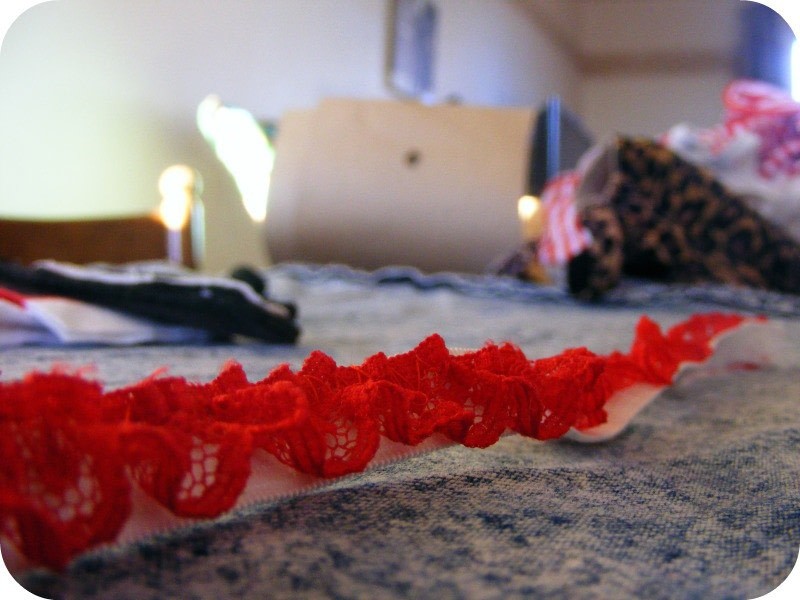
- 13Ta-Daaaa, pretty bra-strap!
- 14Now we'll do the cup.
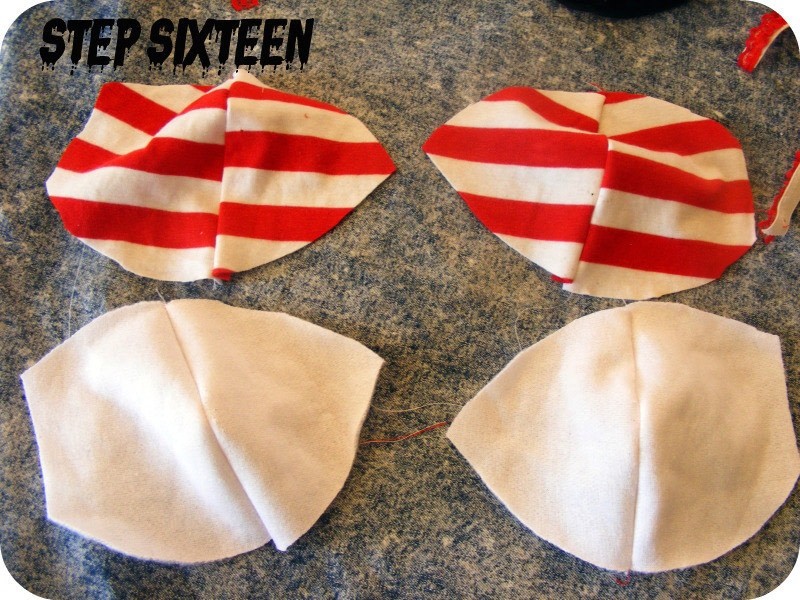
- 15Get the inner cups and place them ontop of the outer cups, right-sides together. Use the uncut side of the old bra as a guide.
- 16Stitch 1cm from the edge.
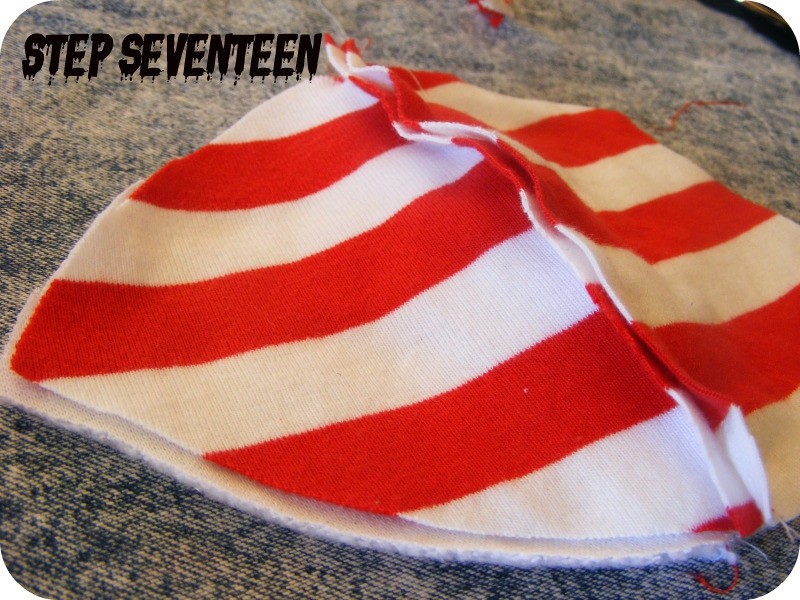
- 17Do the same with the 'padding'
- 18Now lay the cup over the padding, making sure you're matching up the right ones.
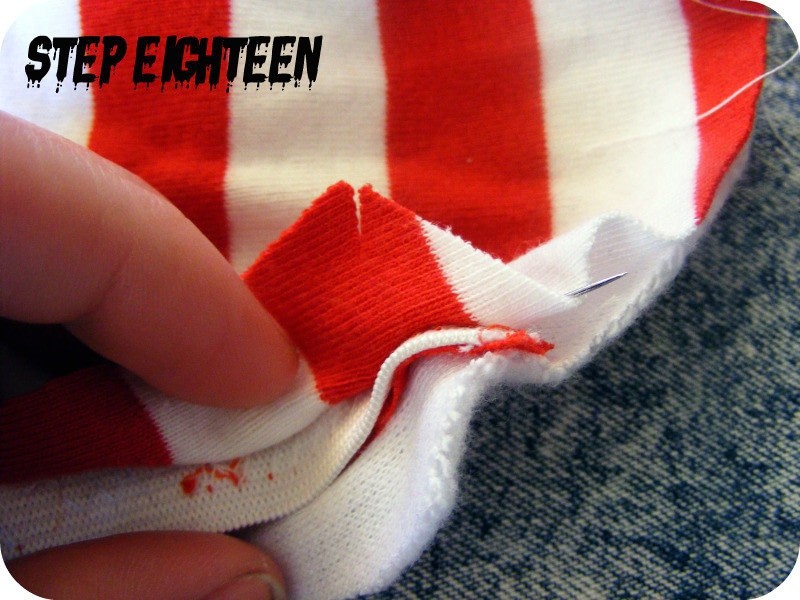
- 19Sandwich the bra strap between the padding and the cup.
- 20Pin
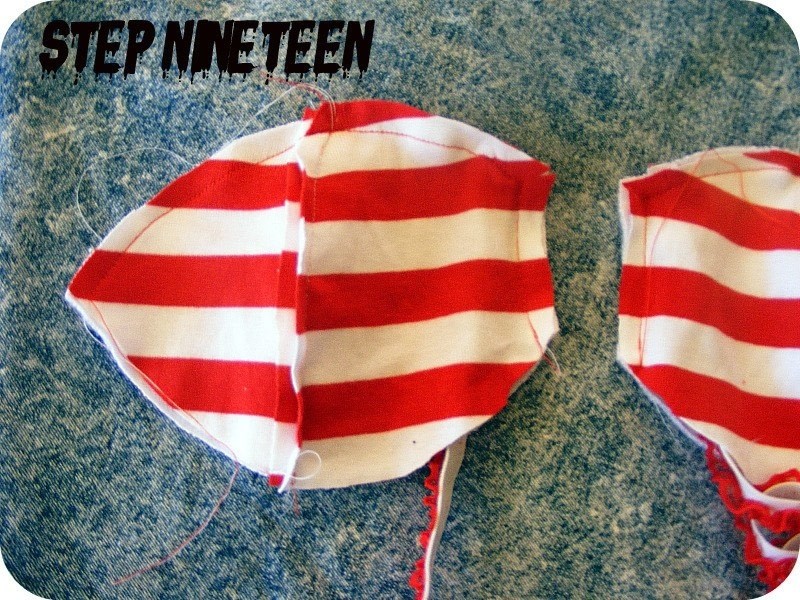
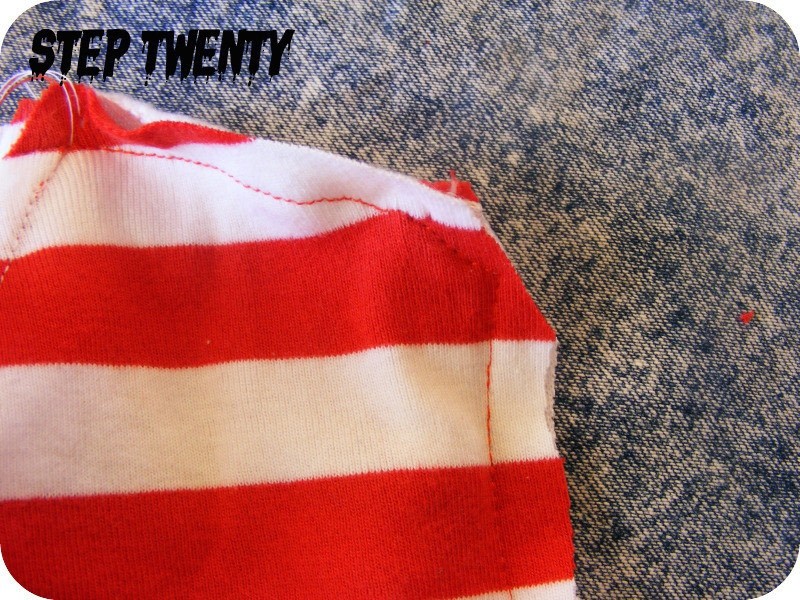
- 21Then stitch across the top of the cup and the outside.
- 22Clip the corner where the strap is.
- 23Whoops. I had my strap the wrong way! Trusty unpicking time!
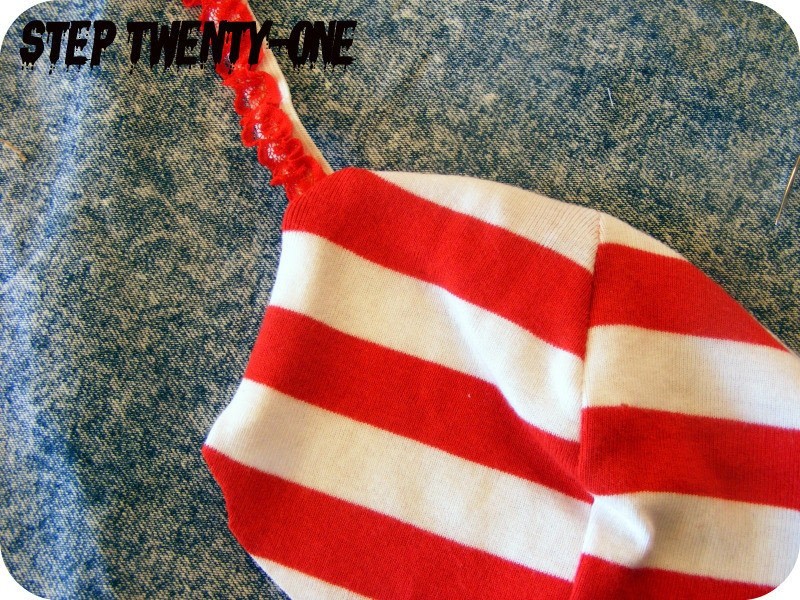
- 24Yeh that's better!
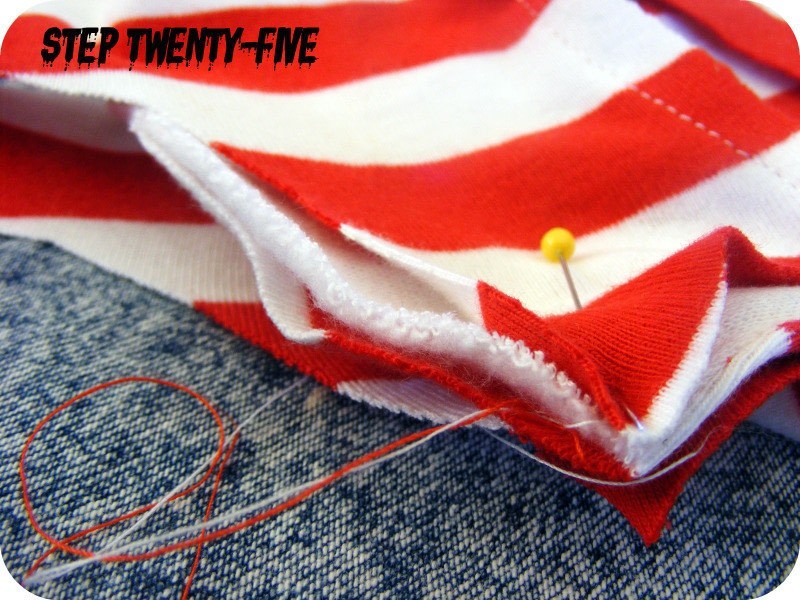
- 25Top-Stitch the edges you just stitched.
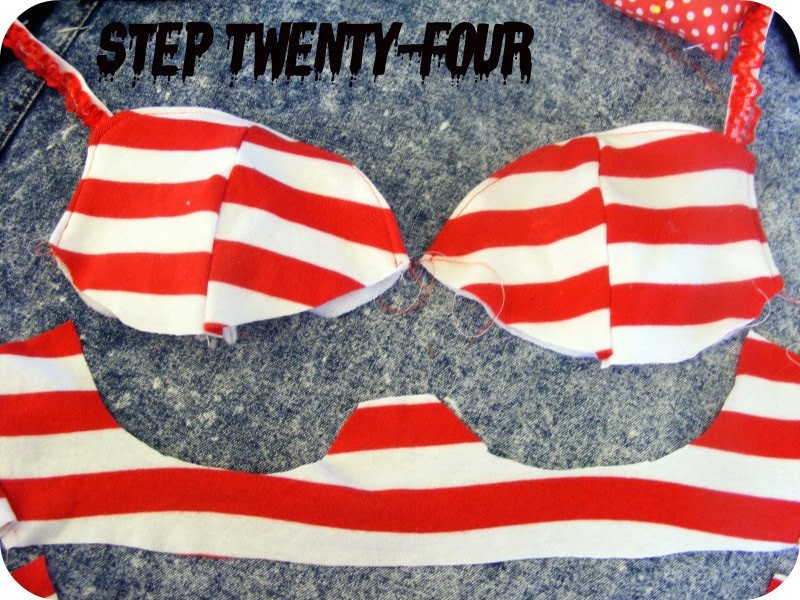
- 26Get your main bra pieces.If they aren't in one piece, stitch the backs to the front.
- 27Get your cups and line them up
- 28Sandwich the cups between the main pieces and pin
- 29It should look like this.
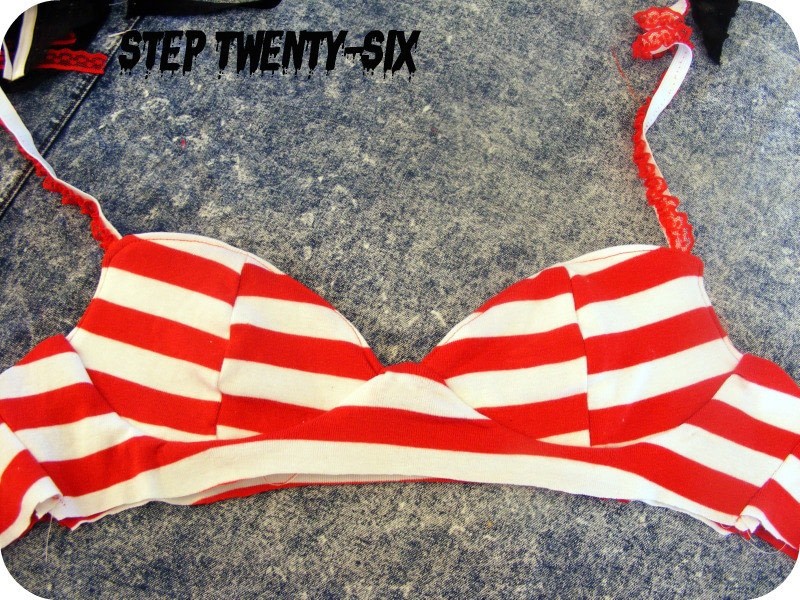
- 30Stitch from the end of one cup right acrossto the other side. The middle part where the cups do not join should be flat across. Flip it the right way and it should look like this. Now flip it back inside out again!
- 31Pin the ends of the bra straps down to the parts of the bra back where you snipped it earlier. Sandwich the strap between the ends and then stitch.
- 32Then top-stitch.
And this is where I cleverly forgot to take more pictures! I'll give you a wordy tute now, and add photos for ya'll later! If you're stuck on anything, let me know! Send me an email!
After you've top-stitched, cut a piece of fabric 2x as wide as you want the little band at the bottom ((don't forget to add seam allowances)). The piece of fabric is going to be as long as the bottom. Fold it in half lengthways and stitch it the bottom of the bra. Topstitch the seam allowance down.
TA-DAAAAAA
You're done, now just DIY some sort of bra clasp if you havn't bought one. Velcro? Press-studs? Mine have pins in them, ahahahah. So rock n roll...


![]()
